Hello friends, In this post we will learn, how to send custom notification using flow. This is really helpful for you when you want to notify any user either on desktop or on mobile through automation. so let's get started.
Send custom notification using flow
To understand this process properly follow each step carefully,
Step 1. Navigate to Setup | Notification Builder | Custom Notification. Create a new notification type like below image(In below image i just marked desktop checkbox, if you need notification for mobile, mark mobile checkbox also).

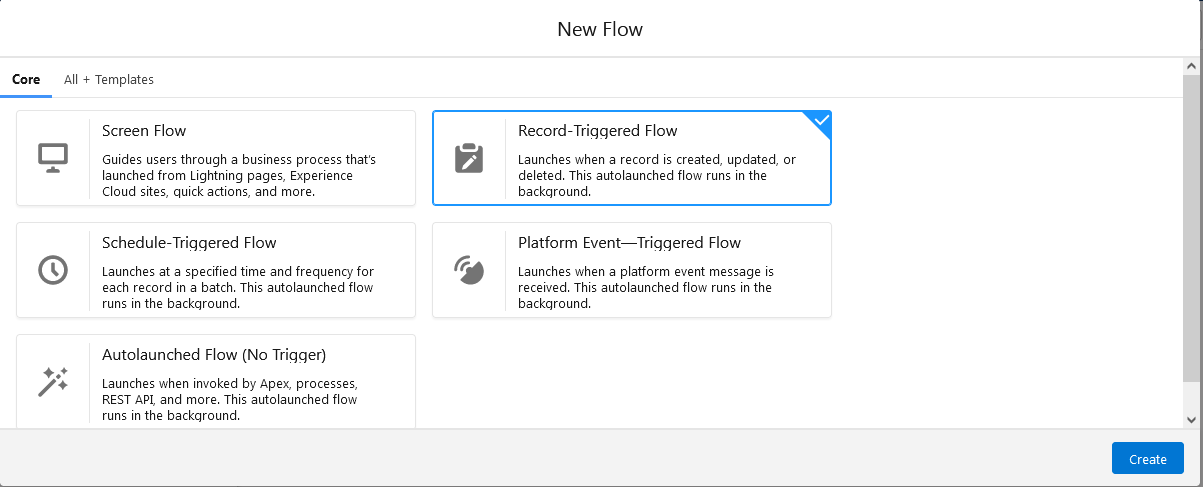
Step 2. Navigate to Setup | Process Automation | Flows and create a new trigger flow like below image.
Step 3. On configuration page select "Account" as object. Trigger the flow when: A record is created. Click on "Done" button.

Step 4. Add "Get Records" element to your flow with following inputs.

Step 5. Create a "Text" variable to store the recipient Ids. Click on "New Resource" button and create a text variable with following inputs.

Step 6. Add "Assignment" element to your flow with following configuration.

Step 7. Add "Action" element to your flow with following configurations. (As you can see, Target ID is the record Id of the account. It means that if the user clicks on the notification, system will take the user to the account page.)

Finally, your flow should be look like the below image.

Step 8. At last "Save" and "Activate" your flow to see this in action.
Create an account record to verify the flow. When you create an account record a new notification will added in notification menu that should be look like the below image.
Output:

Hope you like this post, for any feedback or suggestions please feel free to comment. I would appreciate your feedback and suggestions.
Thank you.
0 Comments
Post a Comment